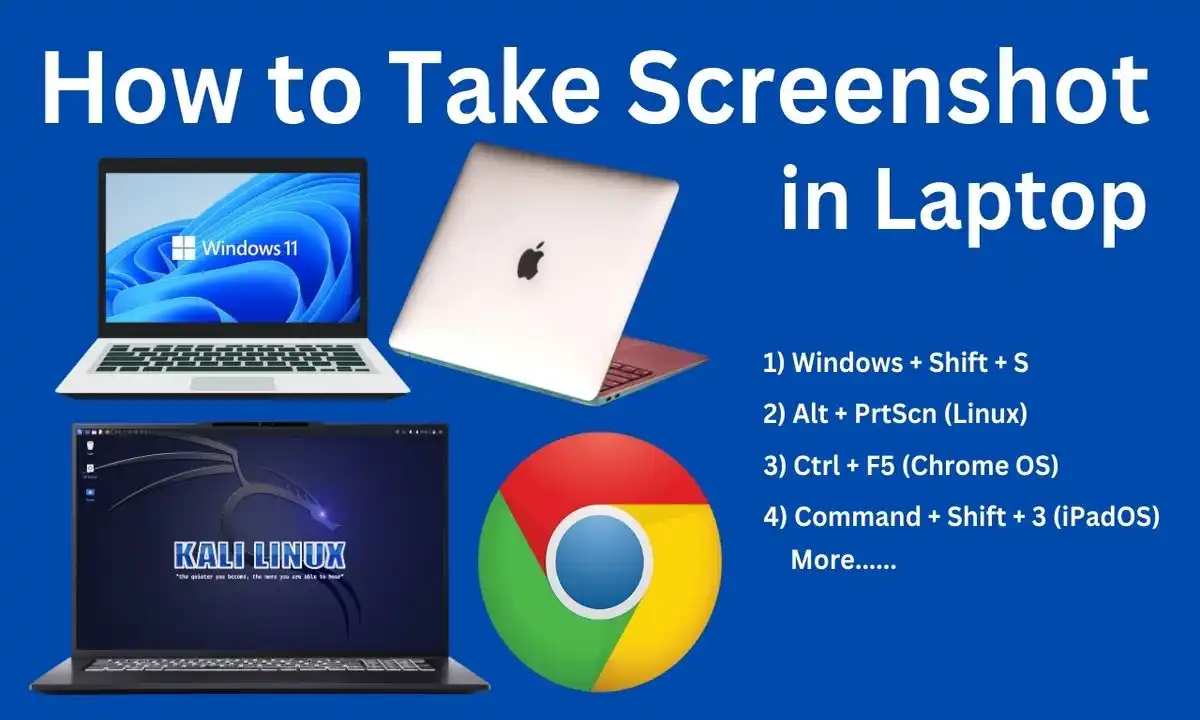
Learn how to take screenshot in laptop with simple methods. Capture your screen easily and save your images for future use. There are several ways to take screenshots on a laptop, and the methods vary depending on the operating system (OS) and its version. Here’s an overview of the most common ways to take screenshots across different OS:
Contents
How to Take Screenshot in Laptop
1. Windows OS
Windows 10 and Windows 11
- Print Screen (PrtScn): Press
PrtScnto capture the entire screen. The screenshot is saved to the clipboard, and you can paste it (Ctrl + V) into any app. - Windows + PrtScn: Captures the entire screen and saves it as an image file in the “Screenshots” folder under “Pictures.”
- Alt + PrtScn: Captures only the active window and saves it to the clipboard.
- Windows + Shift + S: Opens the Snip & Sketch tool, allowing you to select a portion of the screen to capture.
- Snipping Tool: A built-in tool for taking custom area screenshots, windows, or full-screen captures, with options for delayed screenshots.
- Snip & Sketch App: Available in Windows 10/11, which allows for timed captures and edits after taking a screenshot.
Windows 7/8
- Print Screen (PrtScn) and Alt + PrtScn work the same as in Windows 10/11.
- Snipping Tool is available for taking partial or full-screen screenshots.
2. macOS
macOS Big Sur, Monterey, Ventura
- Command + Shift + 3: Captures the entire screen and saves it to the desktop.
- Command + Shift + 4: Allows you to capture a portion of the screen by dragging to select.
- Command + Shift + 4 + Spacebar: Changes the cursor to a camera icon to capture a specific window.
- Command + Shift + 5: Opens a screenshot menu where you can capture the entire screen, a window, or a portion, with the option to record the screen.
- Touch Bar (on MacBooks with Touch Bar): There’s a screenshot button on the Touch Bar that can be customized for easy access.
- Preview App: Use Preview > File > Take Screenshot to capture selections or timed screenshots.
macOS Mojave and Earlier
- The same shortcuts apply as above, but Command + Shift + 5 functionality (Screenshot menu) was introduced in macOS Mojave.
3. Linux (Ubuntu, Fedora, etc.)
GNOME-based Desktops (Ubuntu, Fedora)
- PrtScn: Captures the entire screen and saves it in the “Pictures” folder.
- Shift + PrtScn: Allows you to select a region to capture.
- Alt + PrtScn: Captures the currently active window.
- GNOME Screenshot Tool: Can be opened via the app menu, allowing you to capture full-screen, window, or selected area with a delay option.
KDE Plasma (Kubuntu, etc.)
- Spectacle Screenshot Tool: Use the built-in tool to take full-screen, window, or region-specific screenshots.
- PrtScn: Triggers Spectacle to capture the entire screen.
4. Chrome OS (Chromebooks)
- Ctrl + Window Switcher Key (F5): Captures the entire screen.
- Ctrl + Shift + Window Switcher Key: Allows for selecting a portion of the screen.
- Ctrl + F5: Takes a screenshot of the entire screen on devices without the dedicated Window Switcher key.
- Screenshot Toolbar: Similar to macOS, Chromebooks have a screenshot toolbar for selecting full-screen, region, or window captures. Press Ctrl + Shift + Show Windows Key to access it.
5. Android (Laptops running Android, like Lenovo Yoga Book)
- Volume Down + Power Button: This universal shortcut takes a screenshot on most Android devices.
- Three-finger Swipe (in some versions): Swipe three fingers down the screen to capture.
6. iPadOS (iPad laptops with keyboards)
- Command + Shift + 3: Captures the entire screen.
- Command + Shift + 4: Similar to macOS, for a partial screen capture.
- Power + Volume Up button (without keyboard): Pressing these buttons captures the screen on iPads.
7. Windows Subsystem for Linux (WSL) on Windows
Since WSL runs on Windows, any screenshot method that works on Windows (e.g., Windows + PrtScn, Snip & Sketch) will apply here as well. Each OS and version offers a variety of tools, ranging from built-in keyboard shortcuts to more advanced software options for better control over the screenshots.
Summary of Methods
| Method | Windows | Mac |
|---|---|---|
| Full Screen | PrtScn or Windows Key + PrtScn | Shift + Command + 3 |
| Active Window | Alt + PrtScn | Shift + Command + 4 then space bar |
| Selected Area | Windows Key + Shift + S | Shift + Command + 4 |
| Snipping Tool | Search “Snipping Tool” | Not available |
| Snip & Sketch | Windows Key + Shift + S | Not available |
Conclusion
Knowing how to take a screenshot in laptop is an invaluable skill that can enhance productivity and communication. Whether you are using Windows or Mac, there are multiple methods available that cater to different needs. From quick captures using keyboard shortcuts to more detailed options with built-in tools, taking screenshots has never been easier.


